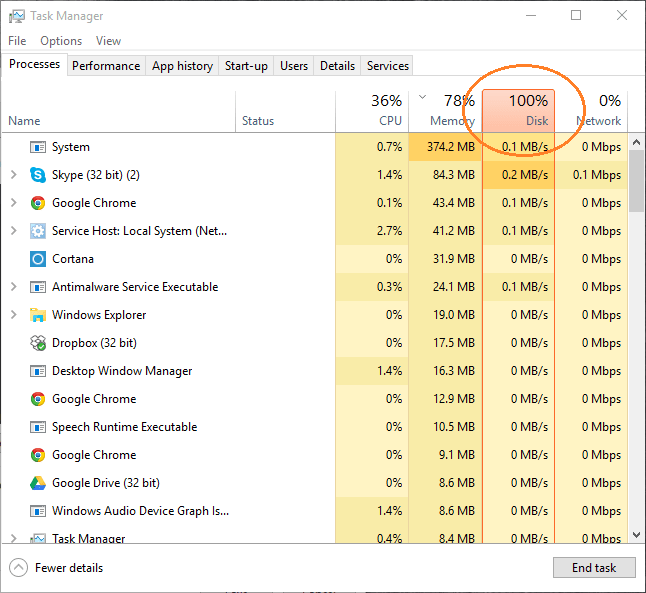
What does it mean when your computer displays 100 % disk usage? How did we get to that point and what are the next steps to avoid data corruption?
If you use your computer on a daily basis, chances are that sooner or later you will see the dreaded ‘low disk space’ alert on Windows. This alert is easily one of the most annoying and frustrating things you can see when using a computer.
Unfortunately, due to the amount of multimedia content we store on our computers these days, it is almost inevitable that at some point your Windows system will become almost full with all those images, videos, and audio files. The good news is that with a little bit of tweaking and maintenance, you can prevent this from happening again in the future.
In this article, I will take you through simple ways to reduce the disk usage on your Windows system.
1- DISABLE CONNECTED USER EXPERIENCE AND TELEMETRY SERVICE
To disable some key services, click on your start menu and type in services and open the services app. From here the first service you are going to look for is the connected user experience and telemetry. Scroll down and here it is right here so you can click on that to change it from automatic to disabled. Push the stop button and then hit apply. By disabling this service, you are not only freeing disk usage but also avoiding Microsoft from tracking your activity.
2- DISABLE SYSTEM MAIN SERVICE
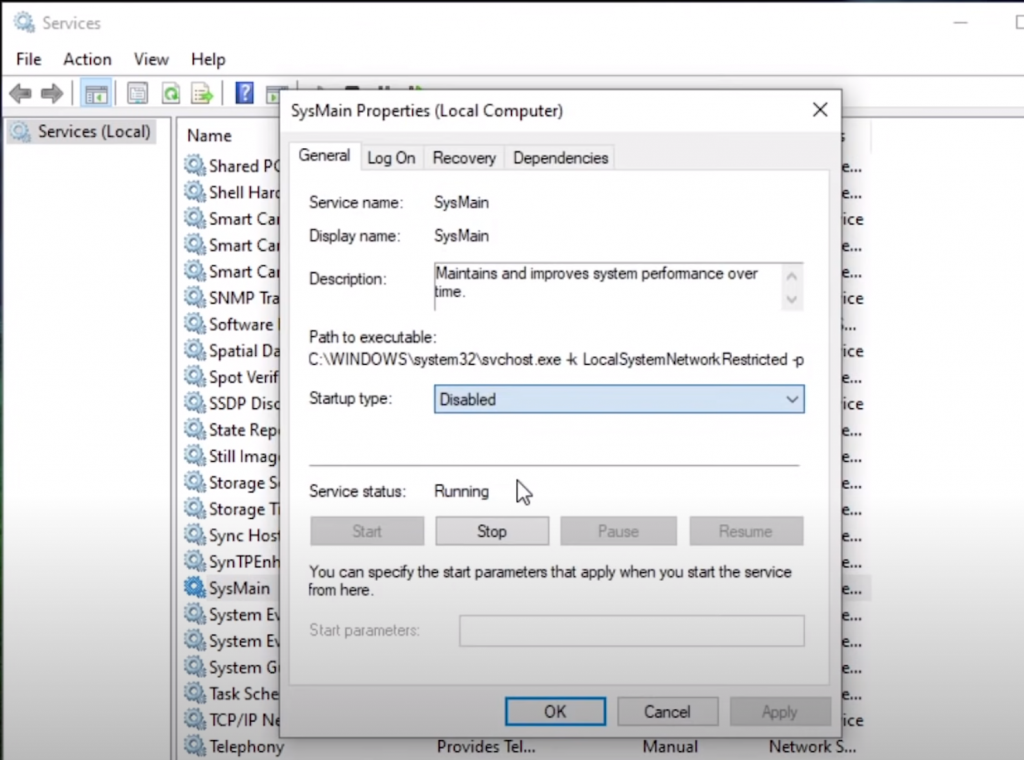
Similarly to connected user experience, another service that is worth disabling is the Sys Main Properties. After having reached out to the services applet, you may want to configure the startup type to “Disabled”. What essentially System Main does to your computer is that it preloads applications into memory when the computer boots up. At the moment of booting up the machine, Windows tries to guess which programs you are going to use and it loads those programs in the background so that when you click on them it appears as if they’re loading faster: in few words Sys Main acts as a system cache that learns from user habits and prioritize the display of the programs user adopts more frequently. There is no downside in disabling this Windows service.
3- DISABLE WINDOWS SEARCH

Without leaving the Services applet, another service that can be disabled is the Windows Search. Once you have disabled the service, click on “Stop” and then “Apply”, and “OK”, otherwise the computer will not remember your preferences. The search service typically uses most of your hard drive resources. However, I would not disable this service because not having the Windows Search functionality means not being able to search for files and folders in your computer. Better maybe to think about disabling this service or the computer usability can be drastically reduced. Another cons of disabling this service is that it will disable the Windows built-in backup utility, also known as File History. Therefore, I don’t think that there is a major utility in disabling the Windows Search service.
4- CHANGE THE POWER PLAN TO HIGH PERFORMANCE
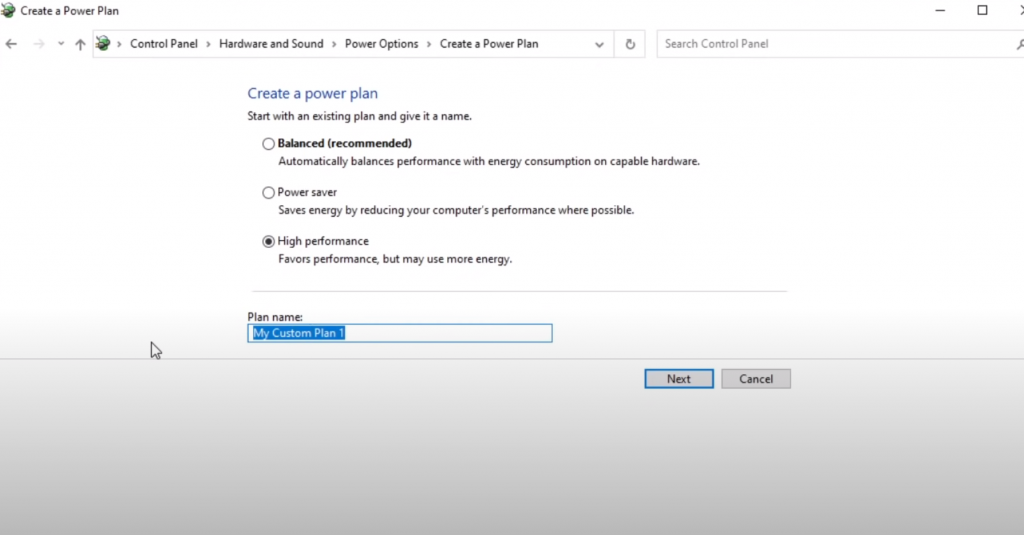
Changing the power plan on your Windows 10 machine will not have a huge impact on the disk usage but it will increase the performance of your machine at the expenses of its power. On a desktop computer this tweak is recommended but on a laptop you may want to think whether is more important for you to save battery power or have a slightly faster computer. To change the power plan you may want to reach an empty area of the desktop and right click anywhere on the desktop. Go down to display settings and then from display settings you want to click on power and sleep and then from there you want to scroll down until you see additional power settings. Once we open the utility, you will see that usually it is set by default to “Balanced”. From balanced you will change it to high performance. Click on it to create a new power plan that will be a high-performance plan under a new name that you are going to give.
5- RUN WINDOWS UPDATES
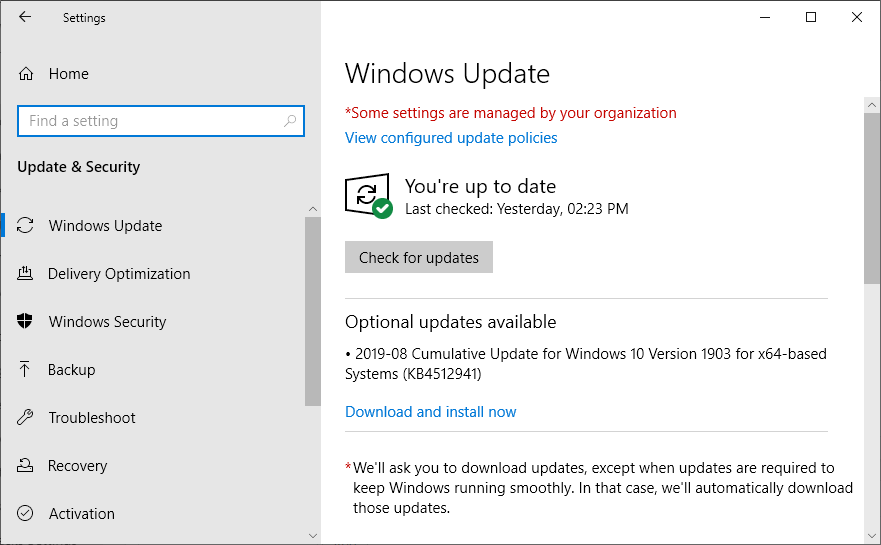
Sometimes running Windows Updates will solve software glitches and may solve the 100 % disk usage issues. To run Windows Updates you can just type on the Windows search bar “Updates” and the “Check for Updates” utility will come up. Click on it and let all the updates go through. Reboot your computer and check if you still have the 100 % Disk Usage alerting your computer. If Windows recommends running also optional updates, please go ahead and let those updates be installed. Reboot the computer and run a check up again.
6- UPGRADE TO AN SSD INTERNAL HARD DRIVE
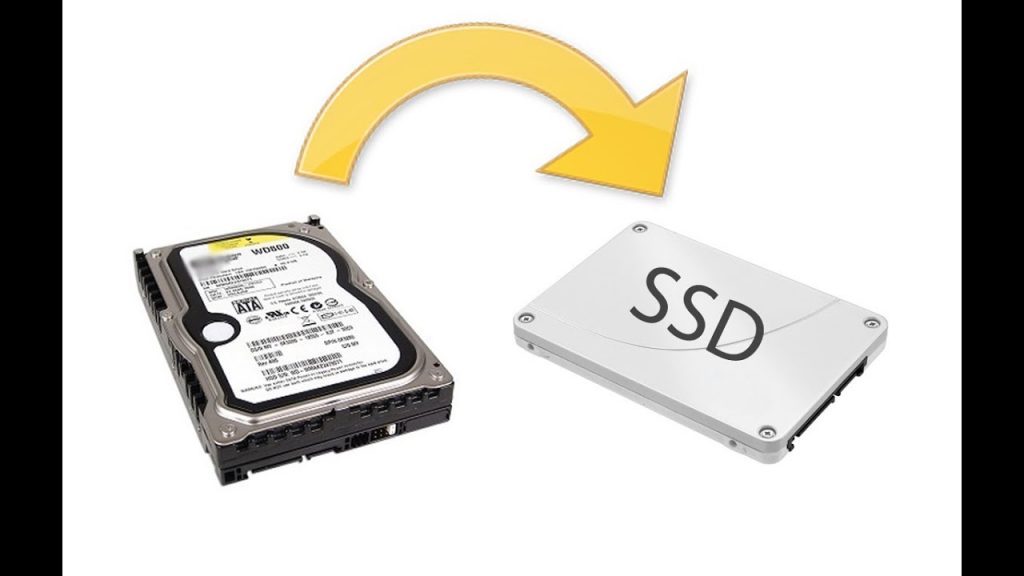
If you have recently upgraded your operating system from Windows 7 to Windows 10 or from Windows 8 to Windows 10, it is time to check if your computer has still a spinning drive (HDD). If your machine still runs on a spinning drive, your computer will run slower because Windows 10 presumes you are running a machine with an SSD. The fact of not having an SSD when running Windows 10 can bring to the 100% Disk Usage issue. This is the most relevant of all the tasks listed in this article because in most of the cases it solves the problem of the disk usage. Windows 10 was conceived with the new reading and writing speeds issued by faster SSDs. Manufacturers should stop releasing computers with spinning disks also because users do not know when a computer comes with a spinning disk or a Solid State Drive. Consumers are lured by a cheap computer and they often make the mistake of buying a computer with a spinning disk or with a Pentium or Intel Core I3 processors.
BOTTOM LINE
One hundred per cent disk usage does not mean that the hard drive is full and that the computer is going to crash. One hundred per cent disk usage is a performance metric introduced by Microsoft on Windows 10 to measure the behavior of Windows 10 when applications are running, and it has nothing to do with the storage. One hundred per cent disk usage means that the applications running on a specific computer take all the resources no matter if they are many or just a few. Removing programs and cleaning the file system is unrelated to this tutorial and will be discussed in another article.