Did you Accidentally Delete Files on Windows? Here’s How to Recover Them
There is nothing more frustrating that seeing our files gone. When we are working on something and hit accidentally the delete button on the keyboard, we pause for a second to understand why this happened.
There is no reason to be sad because when it comes to deleted files, they aren’t actually deleted from your machine; they’re really just hidden from view in order to be overwritten by the PC later on down the line.
- METHOD #1
One of the simplest ways to get your files back is to check the recycle bin and this method is a lot more effective if you have just deleted your files. A lot of people don’t often check the recycle bin but most times you can find what you’re looking for if you just check the trash. Double click on the recycle bin to open it and go ahead and look through all the files that are there to see if the ones that you’re looking for are able to be recovered. Then go ahead and right-click on the files that you want to restore and choose restore. The restore button will move back the file to its original location. You can also drag the files out of the recycle bin and drop it on a new location where they will be stored.
- METHOD #2
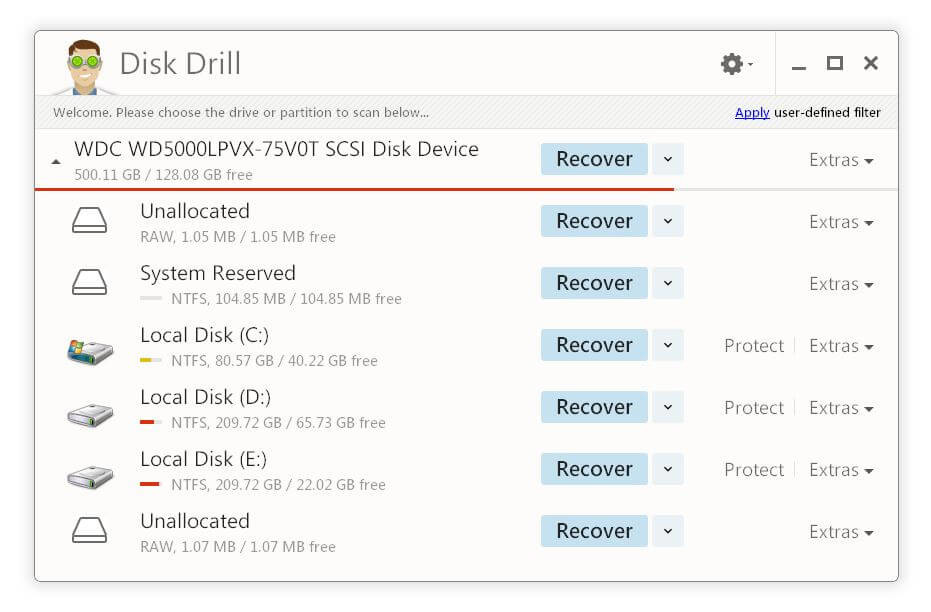
Use a data recovery software such as Disk Drill. It’s a powerful all-in-one software suite that not only recovers files but also protects files and disks from danger in the first place. A great feature of this software is that you can recover up to 500 Megabytes of data for free before being prompted to pay for a license. Usually, half terabyte is more than enough for documents photos. One important caveat is that you may want to download and install Disk Drill to a different drive than the one you’re trying to recover the data from so if you’re trying to recover files from your C Drive for example it’s really recommended you download and install the program to an external drive.

Once you have launched Disk Drill the interface will show the drives that are connected. On the left, different panels display features such as the data recovery as well as the drive backup and data protection. To recover the missing files, start the scan itself and select the disk or partition where the files were in the first place from the list presented and then click on the search for lost data button to initiate the search. Once the scan is finished you can review the files within the file structure. If you’re looking for photos just select photos, and the software will help you to sort through all the different picture files. Put a checkmark next to the files you want to recover and choose a save location, possibly a flash drive or another external hard drive.
- METHOD #3
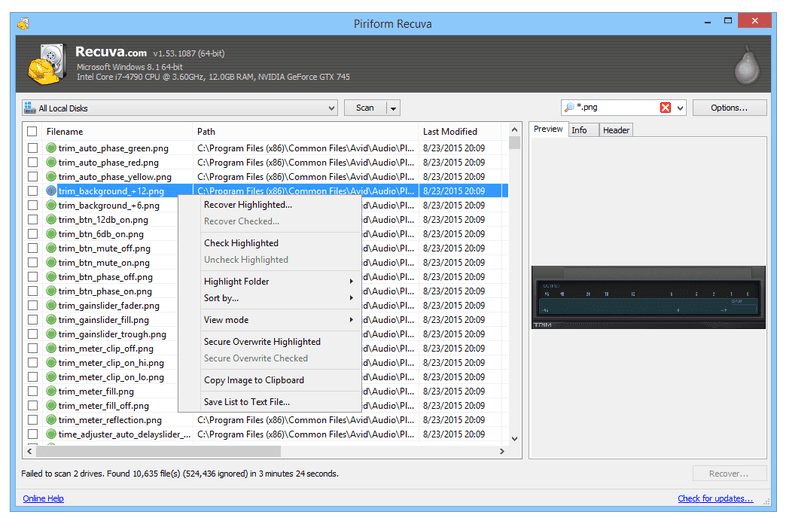
Use a file recovery file like Recuva. Download the free version of Recuva from here. Install the software on an external hard drive like suggested for Disk Drill.

Time and the installation of the software to an external hard drive can lead to successful recovery, whereas hesitation and installing recovery software in the same hard drive where we need to recover the data from can lead to no results, as software will overwrite the data we are looking for.
- METHOD #4
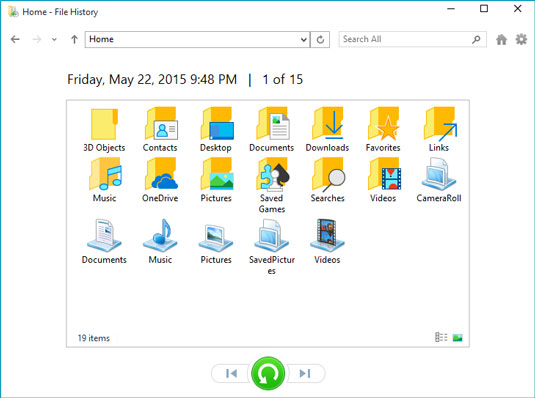
If you use – and I hope that you are doing so – the built-in Windows backup utility, File History, it will be enough to browse to the external hard drive that contains your files previously backed up via File History and you can manage to recover the files you have accidentally deleted by using the version history feature.

Contrary to Disk Drill and Recuva, there is no software that needs to be installed and you can recover the files back to your C drive, as there are no overwriting issues with File History. However, the only caveat is that you need to have set up the back up of your computer earlier than the accidental loss of your files. File History looks similar to its MAC counterpart Time Machine, because it offers the possibility to browse to the different version history each file and folder have.
- METHOD #5
You can use the app Windows File Recovery that you can download from the Microsoft Store. The application works with the command prompt, but its use should not be intimidating.
Type winfr and the letter of the drive where you try to get the files from. For example, if the source disk is C and you are trying to recover all .docx files in C, you will type the following syntax in the command prompt:
Winfr C: D: /n *.docx
Where C is the source disk and D the destination disk, possibly an external hard drive that will contain the word files we are trying to recover.

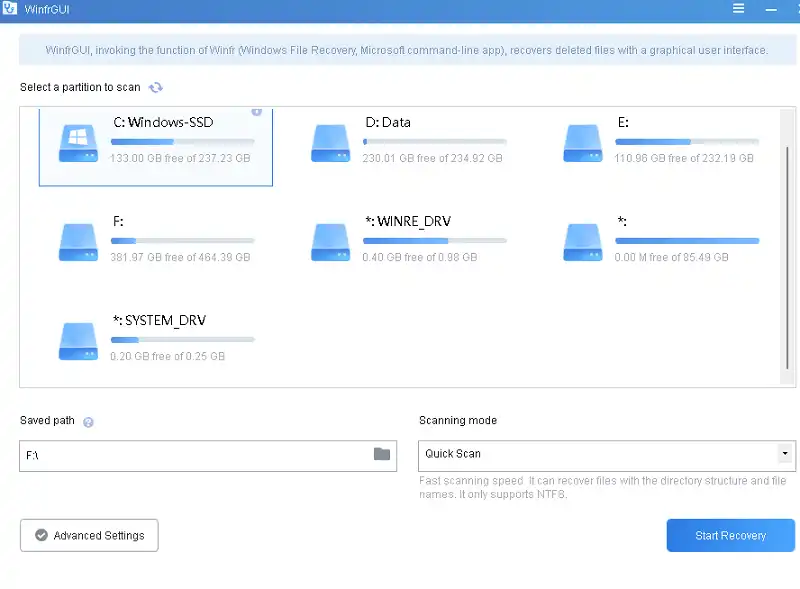
However, if working with the command prompt is not your forte, the developers of Winfrgui have created the interface that interacts with the terminal. You can download and install Winfrgui from here and install it on your computer without incurring in the overwriting issues described in Recuva and Diskdrill.
All Disk Drill, Recuva and Winfrgui are free and can recover accidentally deleted data from internal hard drives, external hard drives and flash drive as well. The main difference between the built-in Windows tools and the third-party recovery software is that the Windows tools do not require to be installed to an external hard drive like Recuva and Disk Drill.